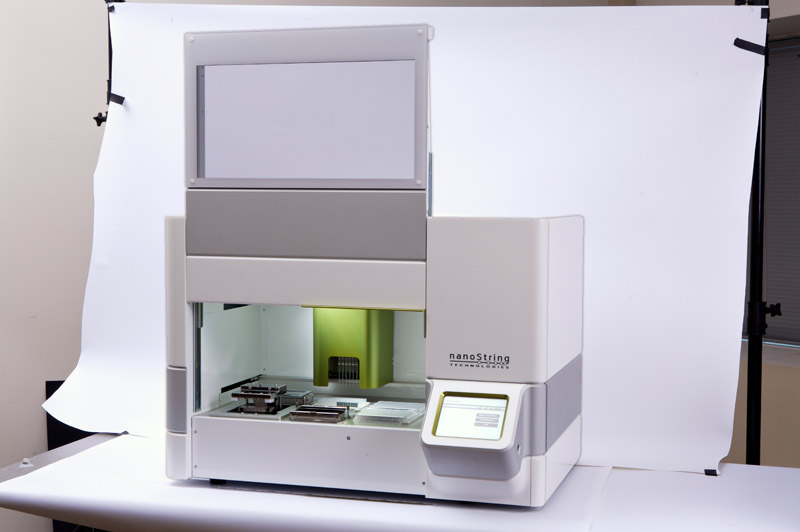
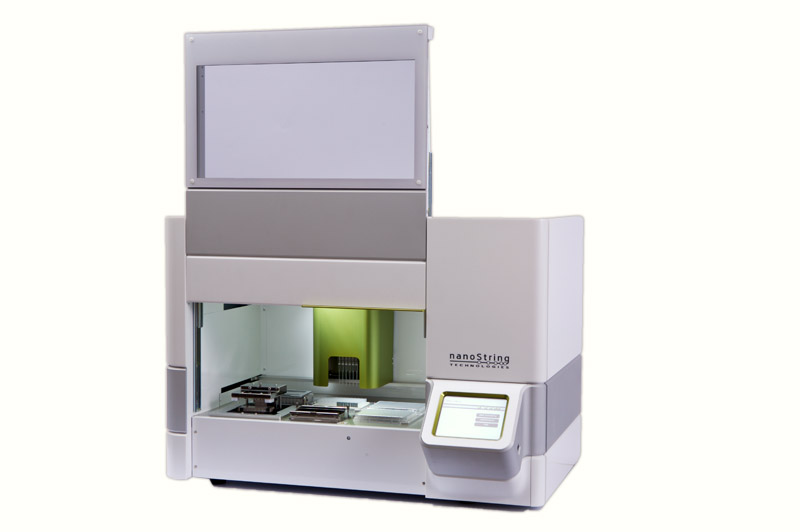
“So we have this little machine, and we need it photographed on a white background for our catalog. You can do that, right?”
Uh… Sure!
Product photography is never as simple as it looks. In a perfect world, you would get a crate full of unblemished products and have a large studio in which to work with them undisturbed for a couple of days. Neapolitan-style pizzas would also magically appear thrice daily.
But that ain’t how it works in the real world – or at least not my real world. These shots were taken for a startup company that makes robotic gene-sequencing machines (magic boxes), and they needed images for their marketing materials but they only had a couple of the actual machines onsite at the time. What’s more, the scientists who were doing the development work on these machines could only release them to be photographed for a short periods of time and then they had to steal them back to run more tests. And of course they’re incredibly fragile and expensive, so we couldn’t move them around much.
Setup
But when duty calls, duty calls! There’s really no excuse why any of these impediments should be insurmountable, so here’s a breakdown of how we shot one of them.
First, we set up some lights, covered the table in paper and rolled out a small paper background. Why such a small roll of background paper, you ask? Because I thought the magic boxes were smaller. (Note to self: Always ask for exact dimensions before a product shoot!) Echoes of sound of my head banging on that table still echo in that building.
I added a small strobe to the top to light the inside of the machine. By shooting two frames (one with the light and one without) from the same vantage point under the same lighting I could sandwich the images to remove the strobe but keep its light.
After that, it’s just a matter of cleaning up the background and handing the machine back to the guy in the lab coat and bribing him with pizza to give us the next machine.
Here are a couple other images from that day.
- Step 3
- Step 1
- Final Step
- Step 2


